
How I Mix and Master Songs as an Independent Artist Using Waves Plugins (2026 Breakdown)
A lot of people ask me how I mix my own songs — especially now that I’ve been dropping more melodic rap and emotional tracks like “HWY” and “All Away.”
And honestly? My mixing style is simple, clean, and built around Waves plugins. I’ve tried expensive analog emulations, huge plugin bundles, and even some of the newer AI tools, but Waves continues to give me the sound I want: modern, controlled, warm, and ready for streaming.
In this article, I’m breaking down my exact mixing and mastering workflow as an independent artist in 2026 — every plugin, every step, and every decision I make from raw vocals to final master.
If you want to try the same plugins I use, here’s the official Waves subscription:
Try Waves Plugins (Free Trial & Deals)
Step 1 — Gain Staging Before Any Plugins Touch the Vocal
The raw recording matters more than people think. Before I add anything to the vocal, I bring the level to around -12 to -18 dB. Waves plugins respond so much cleaner at that range.
This one habit alone can fix muddy, distorted, or overly compressed vocals before you even drop a plugin on the track.

Step 2 — Pitch Correction (Auto-Tune or Waves Tune Real-Time)
I start every mix with pitch correction because it affects the entire chain.
For emotional melodic rap:
- Auto-Tune gives me the expressive, modern tuning my style needs.
- Waves Tune Real-Time gives a cleaner, more subtle tone.
If you’re a beginner or working on a budget, Waves Tune Real-Time is the perfect starting point:
Try Waves Tune Real-Time Through Waves Subscription
For heavier melodic tuning (Juice WRLD / LAROI type vocals), Auto-Tune is unmatched:
Try Auto-Tune Free for 14 Days
Step 3 — Tone Shaping with SSL EV2
SSL EV2 is my main tone-shaping plugin. It does three things for my vocals:
- Cuts mud in the low-mids.
- Adds presence in the high-end.
- Compresses cleanly without ruining the emotion of the performance.
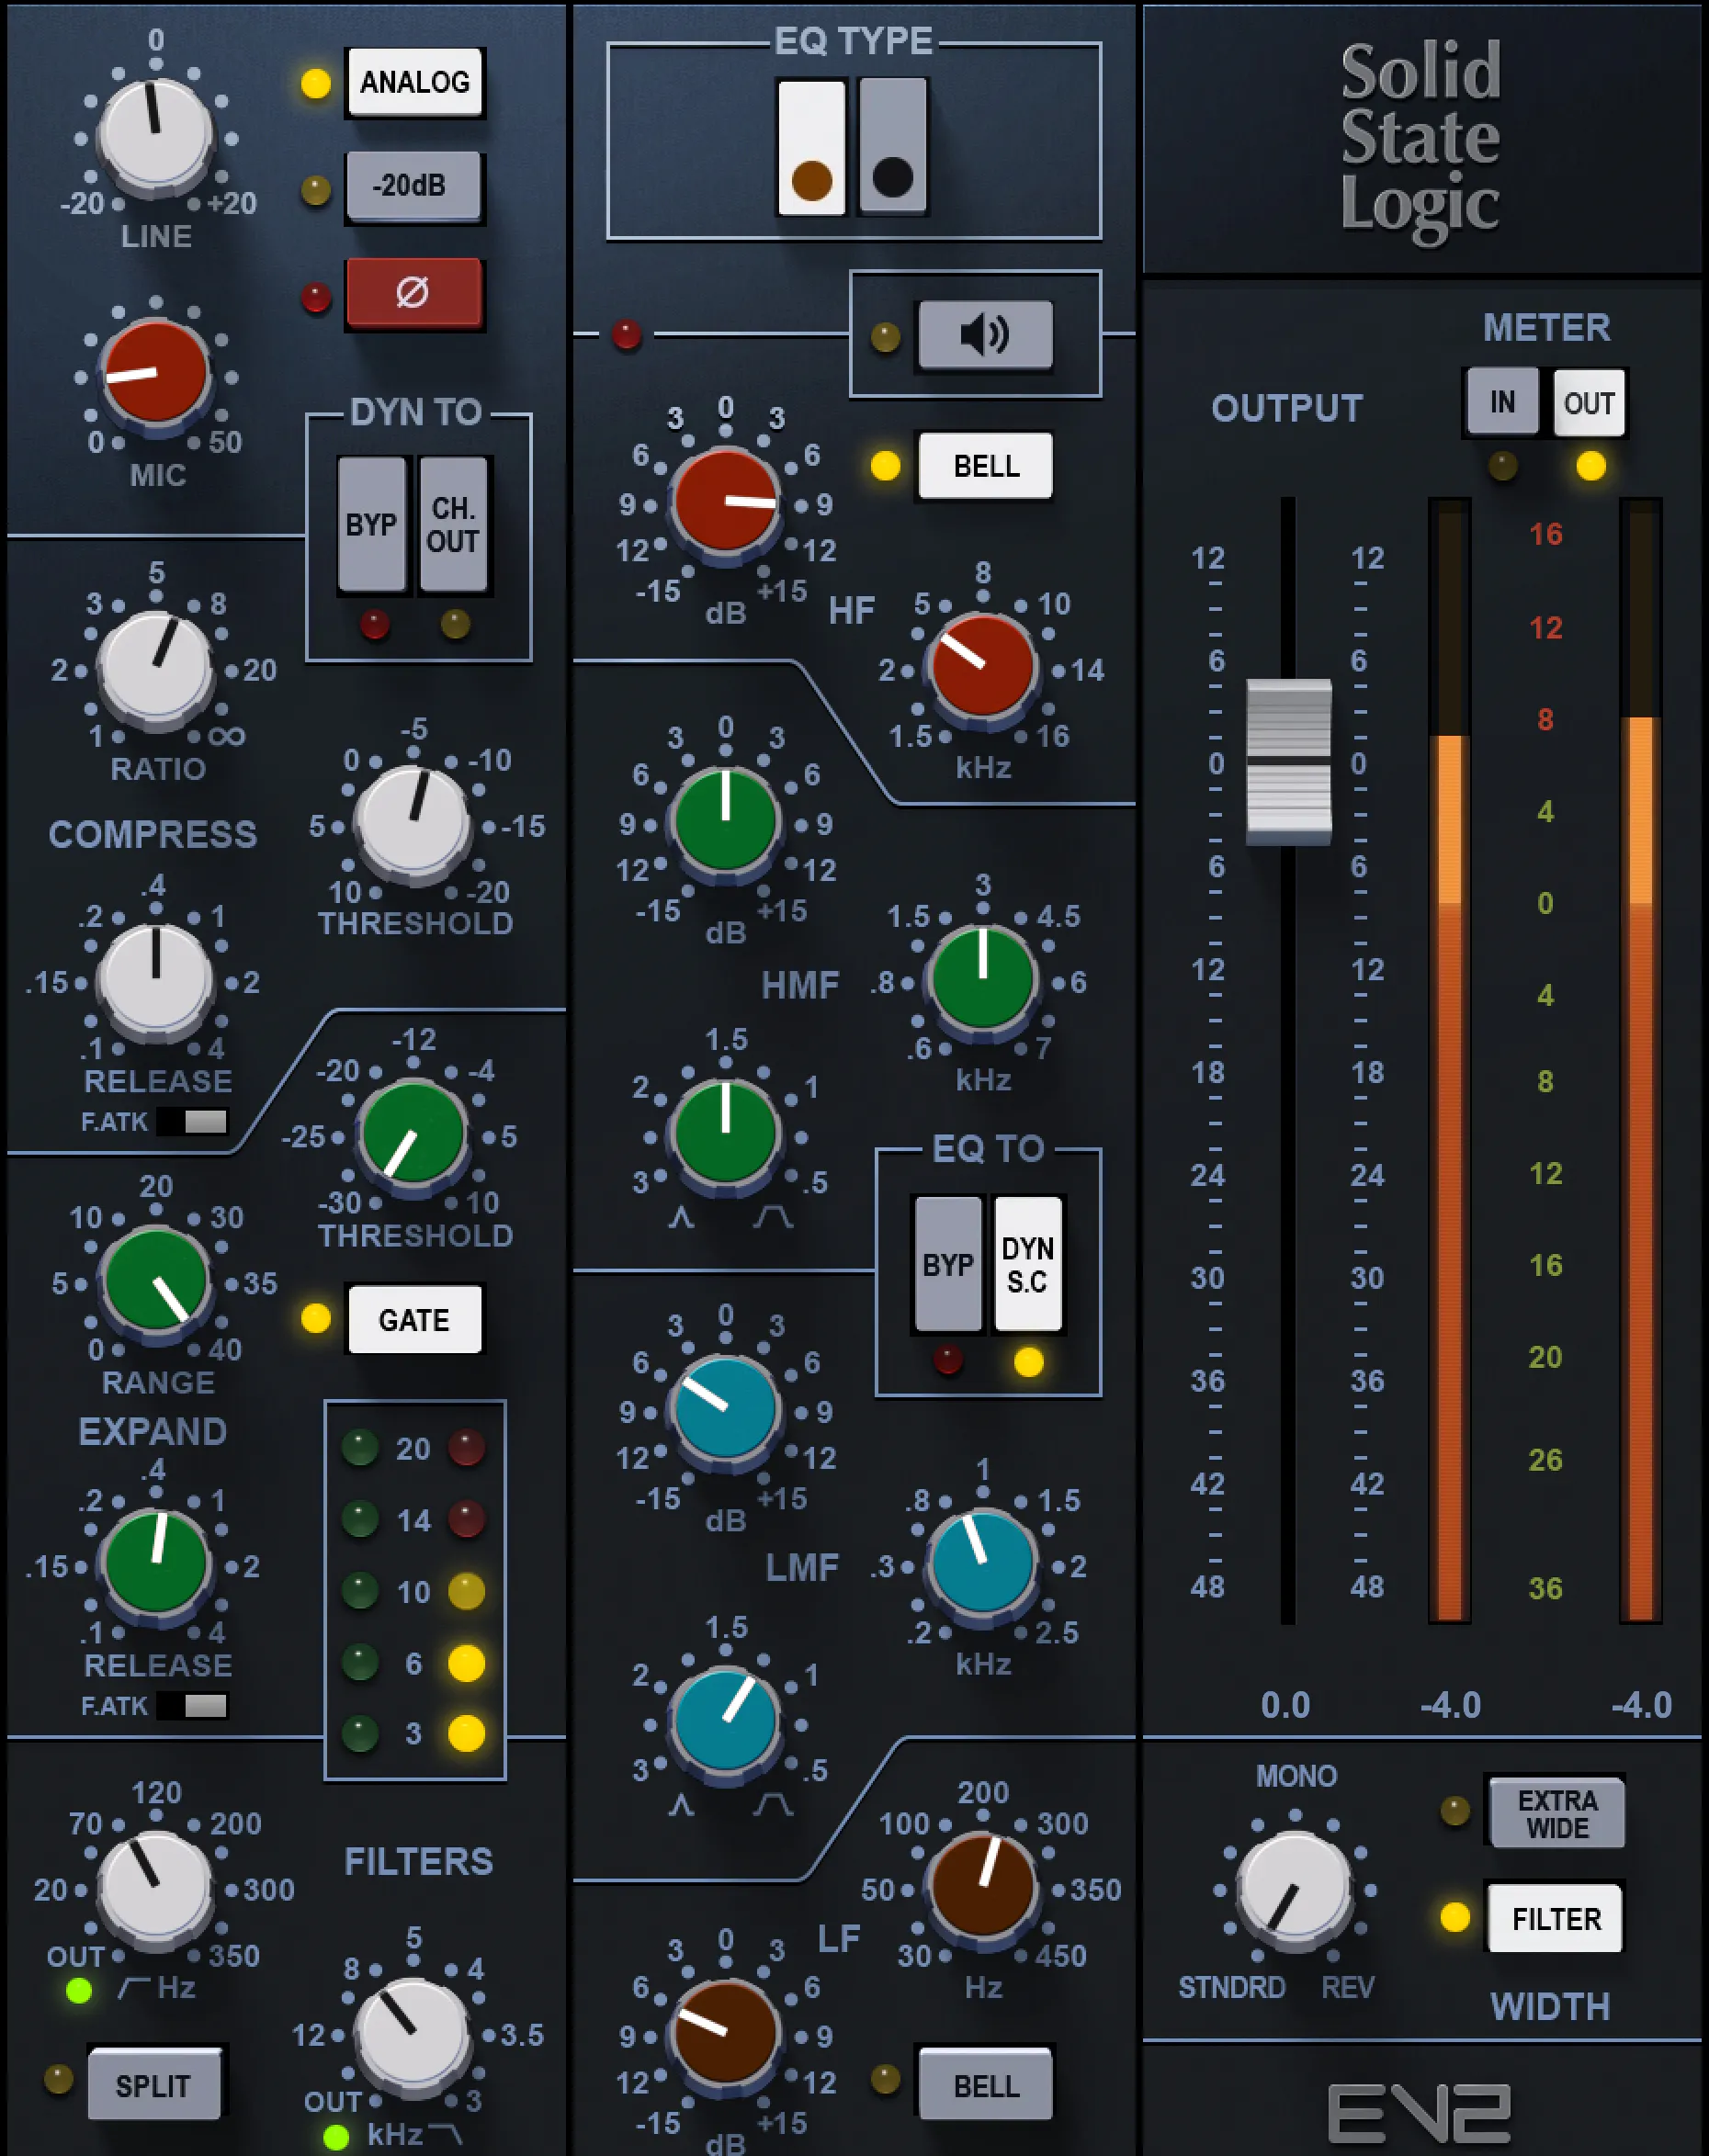
The saturation options are perfect when I want just a little color, but not too much. This plugin was huge in shaping the tone of “HWY.”
Use SSL EV2 with Waves Subscription
Step 4 — R-Vox for Punch, Forwardness & Vocal Energy
R-Vox is the fastest way to make a vocal feel “finished.”
- Pushes vocals forward
- Controls dynamics
- Adds presence with almost no effort
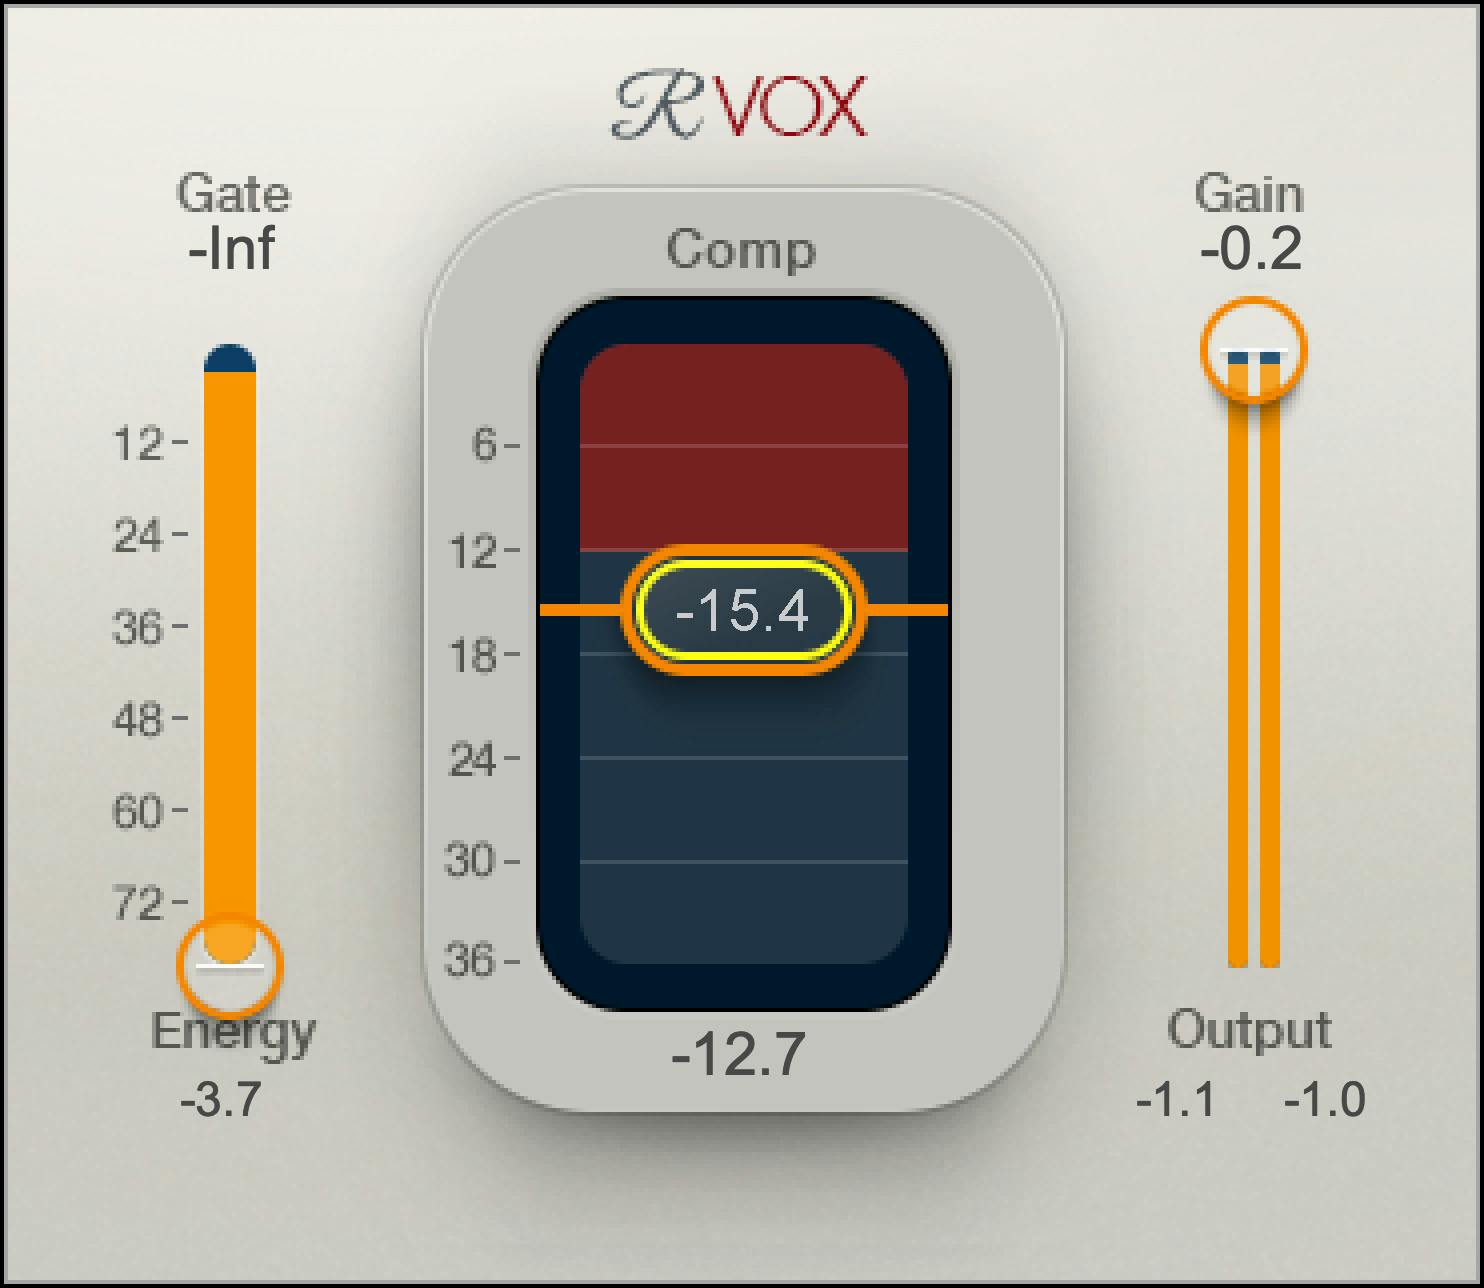
It doesn’t matter if it’s rap, melodic rap, alternative, or R&B — R-Vox works on everything.
I normally compress the vocal lightly in SSL EV2, then let R-Vox “finalize” the shape.
Try R-Vox Through Waves Subscription
Step 5 — De-Essing for Clean High-End
Harsh “S” sounds can ruin a vocal mix, especially on emotional or breathy deliveries. I use two light stages of de-essing:
- Before compression to control peaks
- After compression to smooth the vocal
Waves DeEsser is clean, simple, and CPU-friendly — everything you want in a vocal chain.

Step 6 — Additional Compression with R-Comp (If Needed)
If the vocal still feels inconsistent after R-Vox, I use R-Comp for smooth leveling.
I set it for lighter, slower compression just to glue the vocal into the instrumental.
Tip: Don’t over-compress. Modern vocals thrive with dynamic range.

Step 7 — Effects: Delay, Reverb, Space & Ambience
All my effects run through sends — never inserts. It keeps the vocal clean and lets you automate easily.
H-Delay for movement

- Slapbacks for rap vocals
- Quarter-note delays for melodic hooks
- Throw delays for emotional emphasis
Light reverb for depth
I use small, subtle reverbs to keep the vocal present. Waves IR-L or R-Verb both work great.

Step 8 — Mastering with Waves L2, L3, or L4 (2026 Edition)
For mastering, I keep things clean and simple. Waves limiters are reliable and never distort when used properly.
My mastering chain usually includes:
- Subtle EQ (if needed)
- Light compression
- Final limiting with Waves L2, L3, or L4
The L4 Ultramaximizer is the newest and cleanest of the Waves limiters, and it’s perfect for streaming loudness targets.
Check Out Waves L4 Ultramaximizer

My Full Waves-Based Vocal Chain (2026 Version)
- Auto-Tune or Waves Tune Real-Time (tuning)
- SSL EV2 (tone shaping + light compression)
- R-Vox (forwardness)
- Waves DeEsser (control harshness)
- R-Comp (glue the performance)
- H-Delay (movement + emotion)
This chain helped shape the vocals for “HWY” and countless projects I’ve mixed for other artists.
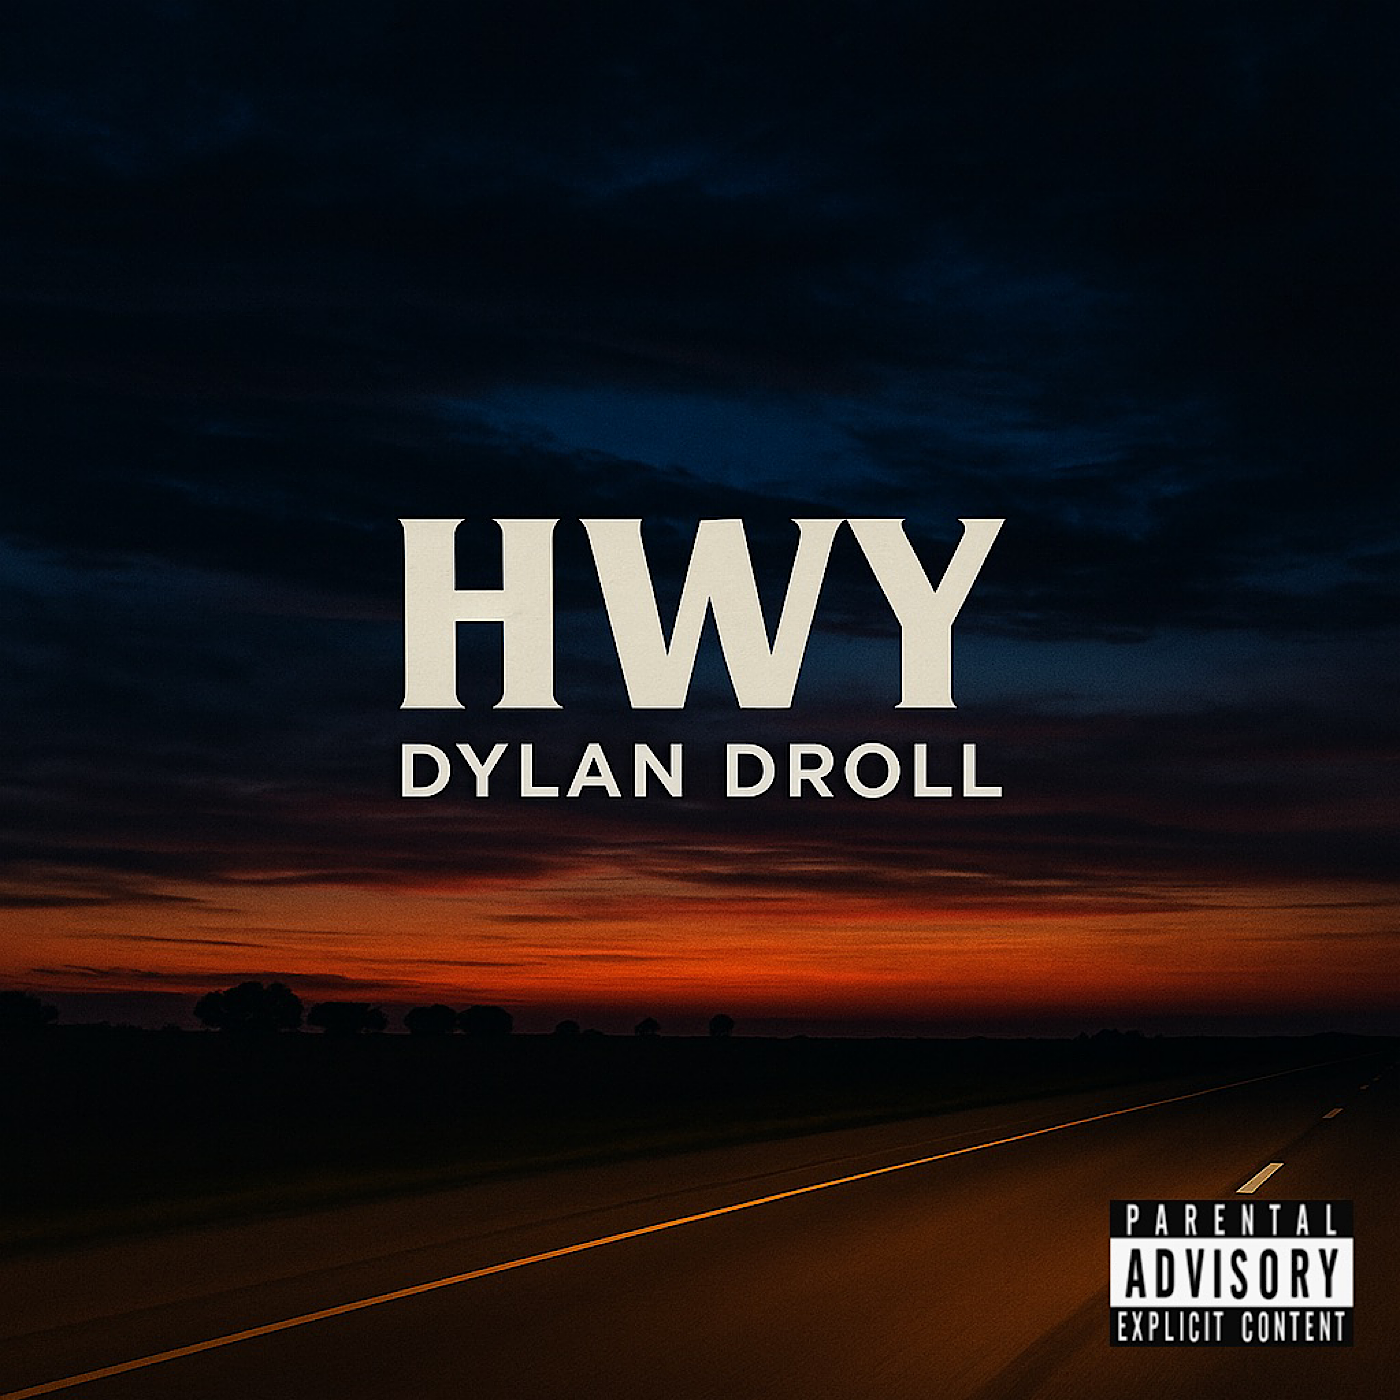
Hear This Exact Chain in My Music
I’m Dylan Droll — an artist and recording engineer originally from Louisiana, now based in Florida. I mix everything myself using this exact workflow.
If you want to hear these settings in a finished mix, start here:
Tools I Recommend for Mixing, Mastering & Vocal Production
- Waves Plugins — Free Trial & Deals
- Waves L4 Ultramaximizer — Latest Limiter
- Auto-Tune — Free Trial
- BandLab Membership
- Home Studio Gear List
- CapCut Pro — Lyric & Promo Video Tool
- DistroKid — Release Your Music Everywhere
Join the Calling Home Records Community

Thanks for reading. If this breakdown helped you understand how to mix and master your music more confidently using Waves plugins, share it with another independent artist grinding like you. You're building something real — keep going.